")
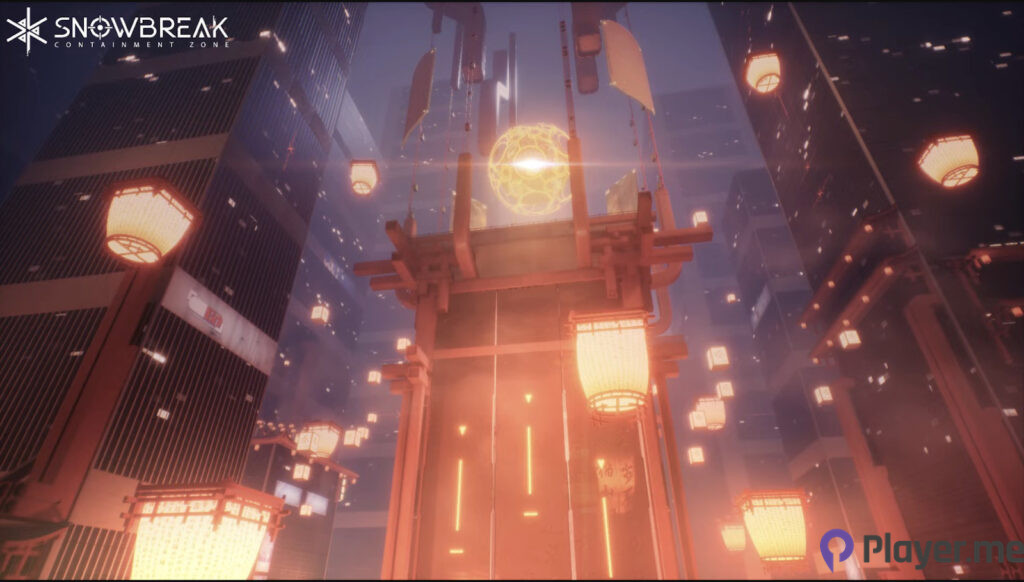
Snowbreak: Containment Zone, a captivating fusion of shooter and gacha genres, immerses players in a post-apocalyptic world where they assume the role of an adjutant battling colossal Titans alongside Heimdall Force Manifestations. As you navigate this challenging realm, mastering the art of combat, team composition, and resource management becomes paramount. In this guide, we unveil essential strategies to transform you from a novice into a seasoned pro within the confines of Snowbreak’s Containment Zone.
Also Read: Snowbreak: Where Action Meets Waifu in an Epic Fusion!
Don’t Try to Rush: A Slow and Strategic Approach

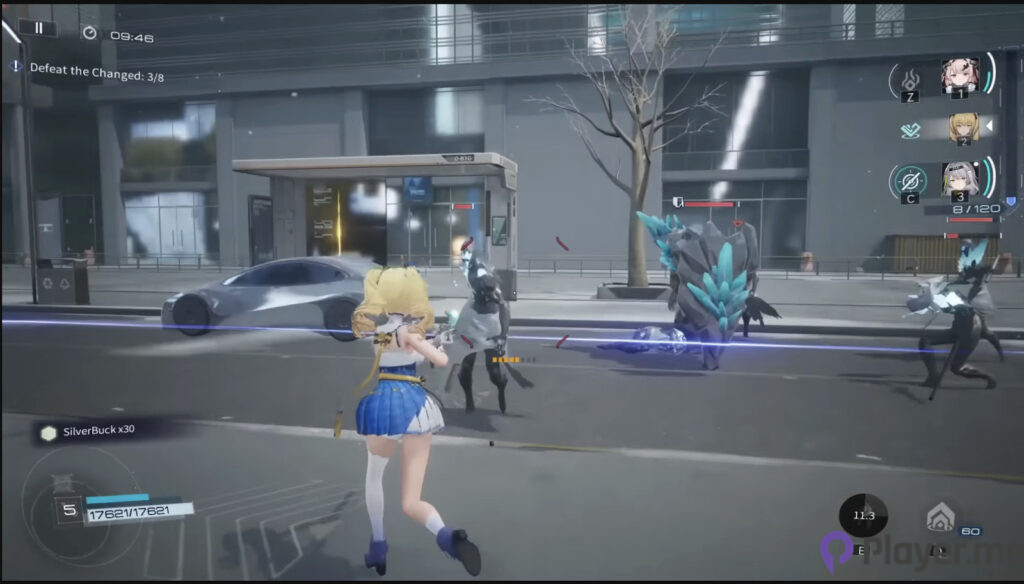
When you begin a battle in Snowbreak: Containment Zone, a blue marker will indicate your destination. Sometimes, this destination can be quite distant, and your path might be infested with enemies. Your initial instinct might be to rush towards the objective, assuming there’s no benefit in dealing with the enemies.
However, this could be a misguided choice because, often, further areas remain inaccessible until you’ve cleared out the enemies in a specific area. If you try to rush toward your goal, you’ll attract the attention of all the enemies in your path. They’ll quickly overwhelm you, even if you’re using a close-range Operative. Once an enemy spots you in the game, they won’t relent in pursuing you until you exit the stage. Furthermore, evading an enemy’s attention is nearly impossible unless you’re engaged in a stealth mission.
Considering these factors, it’s advisable to adopt a more gradual approach during combat. Confront groups of enemies as you encounter them to prevent being overrun. This strategy is particularly crucial in stages where you confront enemies that worship Titans (Adventists). These enemies often appear in sizable groups, featuring one or two formidable monsters capable of inflicting significant damage. Managing one group at a time already presents a considerable challenge.
Always Use a Support Operative: A Multifaceted Advantage
In Snowbreak: Containment Zone, you’re allowed to have a team of up to three Operatives. These characters can be swapped dynamically during battles, and each one possesses a trio of skills right from the start: An active skill, a support skill, and an ultimate ability.
| Skill Type | When to Use |
| Normal Skill | Employ this when you’re controlling a particular Operative, and their skill isn’t on cooldown (Displayed at the bottom right of the screen). Most of these skills end if you switch to a different Operative while they’re active. |
| Support Skill | An Operative’s support skill is usable even if they’re not currently on the battlefield. You’ll find the support skill button beside their name in the top right corner of the screen. However, if an Operative is currently in play, their support skill cannot be used. |
| Ultimate | As you deal damage or defeat enemies, you accumulate energy (Shown in a blue bar beside the Operative names at the top right). Once you reach the required energy threshold, you can unleash an Operative’s ultimate ability. This energy is shared among all the Operatives on your team. Ideally, it’s best to have just one Operative with a strong ultimate ability. |
Normal and support skills also consume a specific type of energy, unique to each Operative, indicated at the bottom right corner.
Given the intricate nature of these skills and the game’s overall combat dynamics, it’s essential to include at least one support character in your team. It’s worth noting that a Support character doesn’t necessarily have to be a healer or shield provider. For instance, a four-star character like Acacia has a support skill that can momentarily slow down enemies. Similarly, the skill of a five-star character like Lyfe can freeze nearby enemies briefly. All these skills can provide you with a valuable advantage in battle, especially when it comes to crowd control.
Related: Where Gaming Meet Tech : Latest Game & Tech News
Master Presence Management: Efficient Resource Allocation

Presence serves as the game’s limited energy in Snowbreak: Containment Zone, gradually replenishing every approximately six minutes. This energy is essential for progressing through the main storyline. Additionally, as you advance, a new section known as Operations becomes available. Within Operations, various stages await, offering the opportunity to spend your Presence on specific items. These items encompass a range of valuable resources such as SilverBucks, materials for enhancing Operatives, materials for improving weapons, and other valuable rewards. Efficiently managing your Presence expenditure is crucial. While prioritising the main story for its substantial material and DigiCash rewards, you may encounter situations where progression halts until you reach a certain level. During such times, directing your Presence towards Operations is essential.
Early in the game, it’s advisable to invest Presence in acquiring Operative and Weapon EXP materials. As you unlock further sections within Operations, you can focus on gathering Weapon Ascension and Operative Neural Materials. Keep in mind that these items become more relevant after surpassing level 50. Additionally, seize the opportunity to collect Logistics Officers whenever you have surplus energy.
It’s prudent to conserve your Baldr Inhibitors for later stages, especially as the rewards from Operations become more lucrative in the late game. To prevent the loss of these time-limited Inhibitors, regularly monitor your inventory. By making informed decisions about Presence allocation, you can optimise your progression and resource accumulation.
Optimise Your Lineup: Positioning for Tactical Brilliance

When getting ready for a battle, you’ll enter a lineup screen where you can pick your characters. This part might seem a bit confusing because the order of Operatives here doesn’t match their order in the actual game. The Operative in the middle on this screen becomes the first one when the stage begins.
The one on the left becomes the second, and the one on the right becomes the third. This might not seem like a big deal, but it can disrupt your muscle memory and lead you to select the wrong Operative by mistake. So, it’s important to be careful with your lineup because it takes a few seconds to switch back if you make a wrong choice.
The Lineup screen is also where you can conveniently check your Operatives’ levels and upgrades to ensure everything is set correctly.
Also Read: The Witcher 4: Leaks and Release Date
Complete Your Daily Tasks: Sustaining Progress and Rewards

After making some progress in the storyline, you’ll unlock the Tasks section. Here, you’ll find Daily, Weekly, Target, and Main Story tasks. Among these, the Daily and Weekly tasks hold the most significance as they come with time limits; If you don’t complete them, you’ll miss out on their rewards.
Daily tasks reset at 00:00 according to the server clock (Which may vary for different servers), while Weekly tasks reset every Monday. These tasks are particularly valuable for earning DigiCash, which you can use in the Gacha system, adding to their importance.
It’s advisable to complete these tasks each day, even if you’re not planning to continue with the main story. Lastly, the Target section contains the game’s Achievements, while progressing through the Main Story tasks yields a wealth of materials.
Know Your Weapons: A Holistic Approach to Arsenal
An Operative’s weapon is just as important as their skills and Logistic Officers in shaping their capabilities. Each weapon boasts a unique ability, and beyond that, they exhibit distinct characteristics like firing speed, ammunition capacity, and ATK power. That said, an Operative’s effectiveness is also influenced by how well their three main stats align with the weapon.
For instance, it’s wise to equip a high ATK but lower ammo weapon to a five-star character like Yao. This choice complements her skill, which essentially provides her with additional ammo. By concentrating on boosting her damage output with each shot, you can harness her full potential.
Conclusion
In the evolving world of Snowbreak: Containment Zone, a comprehensive understanding of its mechanics and nuances is your ultimate pathway to mastery. As you traverse this dystopian realm, choosing the right team members, using your resources wisely, and finishing tasks will help you go from novice to pro. Embrace these insights, and let your ascent to dominance within Snowbreak’s Containment Zone begin.
Frequently Asked Questions
Are There Any Specific Team Compositions That Work Best in Snowbreak: Containment Zone?
While there’s no one-size-fits-all answer, successful team compositions often revolve around balance and synergy. Consider creating a mix of Operatives with various roles – damage dealers, crowd controllers, and support characters. Experiment with different combinations to find what works best for your playstyle and the challenges you’re facing in the game. Remember to take advantage of the Support Operative’s skills and choose Operatives whose abilities complement each other for a well-rounded and efficient team.
How Does the Gacha System Work in Snowbreak: Containment Zone, and What Role Does It Play in Enhancing Gameplay?
The Gacha system in Snowbreak: Containment Zone allows players to spend DigiCash or other in-game currency for a chance to obtain powerful Operatives, weapons, and other valuable items. While it’s not a requirement to progress in the game, the Gacha system can provide access to unique and potent assets that can greatly enhance your team’s capabilities. However, it’s important to exercise caution and manage your in-game currency wisely, as excessive spending can affect your overall resource allocation and progression strategy.
What Advanced Tactics or Strategies Can I Employ to Excel in Snowbreak: Containment Zone?
As you become more experienced, consider delving into advanced tactics to elevate your gameplay. Mastering precise dodging and timing for enemy attacks, chaining combos between Operatives, and exploiting elemental weaknesses can significantly boost your effectiveness in battles. Additionally, fine-tuning your resource management by optimising Presence allocation for specific goals and taking advantage of character and weapon synergies can contribute to your overall success.