Need some help with beating chapters 8-12 of God of War Ragnarok? Then, this walkthrough is for you, as we’ve broken down the boss battles and the narrative that you’ll encounter on your way to Ragnarok. Yes, our guide includes the location of all major treasures in chapters 8-12.
Also Read: God of War Ragnarok Series 1
Also Read: God of War Ragnarok Series 2
Also Read: God of War Ragnarok Series 3
Chapter 8: Into the Fire
Search for the Mask Fragment with Thor
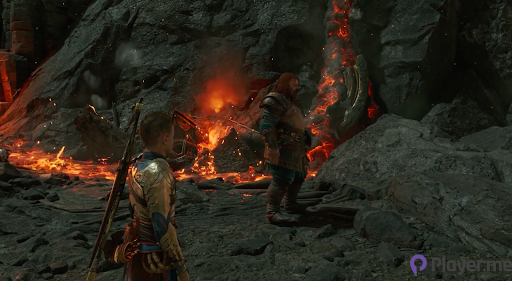
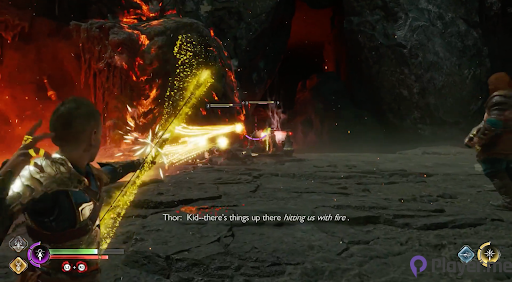
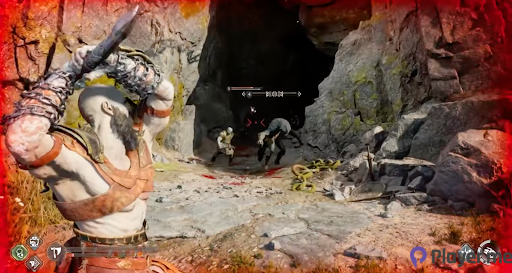
It’s time to look for the mask fragment in Muspelheim after which Atreus takes out the mask and is led to the fragment. Follow the path to your left after Thor clears the way and deal with any Draugr you encounter. Once you’ve defeated the enemies, you can equip the mask once again and continue up the mountain.
You’ll soon enter a cutscene after passing a lava pool which will be interrupted by a group of Draugr and Cursed Tatzelwurms. Just look out for attacks that are surrounded with blue rings because they can be devastating. To avoid those deadly blows, just double tap L1 to break your opponent’s shield.
Keep following the cues from the mask, though, along the way, you’ll still encounter more Draugrs and three Ogres. At this point, just dodge their unblockable slam and rock toss attacks and you’ll be good – because Thor deals the most damage to them. You’ll get the runic summon, Falcon’s Dive from defeating the Ogres.
Investigate the Shrine
You’ve reached Surtr’s shrine and with Thor dealing with the Muspelheim challenges, all you can do is explore. Squeeze through the gap beneath a broken gateway and start climbing up the rock face after looting a fallen Draugr. Continue towards the door at the top though watch out for the group of Wisps blocking your path. They’re being summoned by a glowing pink obelisk in a cave to your left.
Enter Surtr’s shrine, learn more about the prophecy, and clear the large group of Draugr, Exploding Nightmares, and Tatzelwurms on your way out. Some tips to eliminating these opponents are:
- Use Ingrid’s attack frequently.
- Keep moving around the battlefield to avoid being poisoned or swarmed.
Continue up the mountain and retrieve the mask from the lava. You’ll soon rendezvous with Thor, who leads you back to the All-Father.

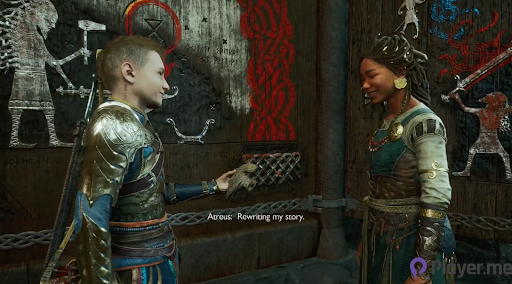
Atreus agrees to help Odin translate the mask after which he returns to his quarters. You have the option of eavesdropping on Thor and Sif’s conversations along the way.
Chapter 9: The Word of Fate
Travel to Midgard
Purchase any skills from Sindri and go talk to Brok who returns Kratos’ Guardian Shield, fixed and shiny. From there, you can use the gateway to travel to Midgard, in search of the Norns. After getting a sled of wolves, you only have to follow the direction their heads are pointed.
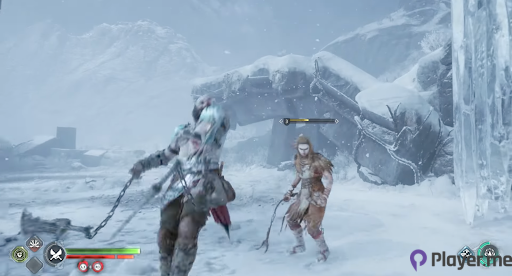
Once you’ve followed the wolves’ instincts, you’ll be led to the Norns. On your way, you’ll be ambushed by a group of Raiders, Hel-raiders, and Ogre. Attack the Hel-raiders with the chaos blade to remove their ice shield, after which you can deal damage to their actual health.
You’ll soon acquire the Inert Hilt of Skofnung which will come in handy later. Wait until Freya dispels the Norns’ illusion and continue on the unblocked path until you reach a Mystic Gateway, which doubles as a checkpoint. Return back to your sled and follow your wolves’ lead. You’ll soon be ambushed again by a Frost Gradungr, so use your Chaos Blades to cancel out their ice shield.
You can return to your sled once more to continue your journey to the Norns. Here’s a hint, you’re heading northwest of the lake so just climb the stone pillar once you’re there. Explore to find and open a Nornir chest. After which, you’ll climb up and explore the discovered path until you find a group of Raiders. Freya will soon dispel an illusion hiding a secret passage. Head inside the passage and explore for some Hacksilver and a red coffin. You’ll soon encounter a Traveler with five health bars which isn’t an easy task.
Defeating the Traveler
The Traveler is tricky to beat because both your blades and axe aren’t getting through his tough armour. Luckily, he attacks at the pace of a snail so just look out for his two moves: an unblockable sword swing and a slam. To cut to the chase, here are some tips for beating the Traveler.
- Use melee attacks.
- Otherwise, charge your Chaos Blades before combat to gain an edge.
- Attack his back because there’s no shield there unlike with other travelers.
- Don’t forget to use Freya’s arrows.
- Throw your axe at the orb in his palm whenever he raises his hands to release a shockwave attack.
- Look along the walls for a stone pillar that you can throw at The Traveler.
Continue Tracking the Norns
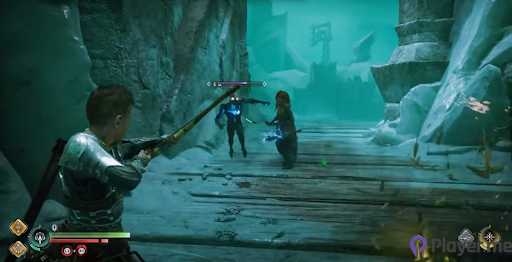
Loot the red coffin next to the stone pillar you may have thrown before and continue through a small tunnel. Kill the two Dark Elves that you encounter but use the Blades of Chaos because of their long reach. Soon enough, you’ll combat another Dark Elf and two Gulons – keep your distance and defeat them using Freya’s arrows.
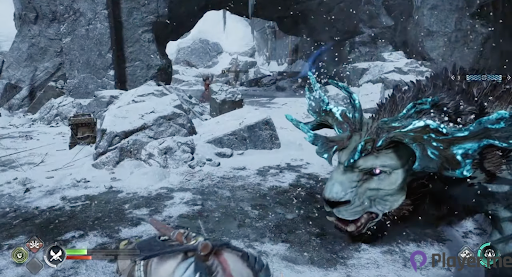
Climb up the ledge and you’ll soon encounter a Hel-revenant who quickly summons two Ice Nightmares. Ignore the Revenant and eliminate the Ice Nightmares first. Combine Freya’s arrows with your axe throws to quickly defeat the Revenant. Finally, you’ll encounter the Frost Phantom.
Defeating the Frost Phantom
You’ll have four health bars to deplete but don’t be fooled, it’s quick, so here are some tips to defeating the Frost Phantom quickly.
- Always attack its purple core.
- It doesn’t stay down for long after being stunned.
- Its attacks have limited area of effect.
- Keep your distance because its melee attacks are fast.
- You can find healthstones scattered about the outskirts.
- Watch out for an unblockable attack that looks like a tidal wave because it’s one of the attacks with a massive area of effect.
You can return to your wolves after defeating the Frost Phantom. Continue tracking the Norns with Freya. You’ll eventually receive a prophecy which says that Heimdall plans to kill Atreus. Leave the Norns and head back to Sindri using a Mystic Gateway. After seeking help from Sindri and Brok, they agree to help you craft Draupnir, the perfect weapon for Heimdall, who sees the outcomes of every event he’s involved in. Then, you travel to Svartalfheim.
Chapter 10: Forging Destiny
Exit the Abandoned Service Tunnel
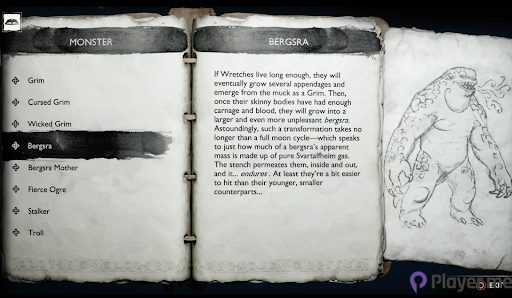
You arrive in an abandoned tunnel which you must exit to look for the Lady who will bless Draupnir. Continue into the tunnel but look out for a Hacksilver chest, a legendary chest, and Hacksilver pouches. You’ll soon encounter a Bergsra after killing some Grims which you can kill by stunning it. So, you should favour melee attacks and Freya’s arrows.

Complete the puzzle challenge to open a locked gate in the area where you defeated the Bergsra. Explore the area to uncover a Nornir chest and then continue up until you fight a Cursed Grim being controlled by a parasite. After opening the gate, you’ll have to battle two Bergsra (With Freya’s help of course).
Head to the Forge with Brok
Once you’re on the surface, head to the Forge with Brok since Freya will be exploring Svartalfheim on her own. Continue past the gap after the spot where you defeated a Dreki until you reach a lift. You’ll have to destroy a Nightmare nest to untangle the cables for the lift to work. Then, complete a puzzle with Brok’s help to open a locked gate.
Loot the legendary chest and climb up the nearby ledge to ride the lift to the Forge. At the top, you’ll have to fix the crank for a bridge. Do that and you’ll soon enter the Forge where Kratos and Mimir discover that Sindri covered up Brok’s death. Bless the Draupnir, test it, and head down the mountain. You’ll have plenty of opportunities to use your new weapon on your way down, including killing Wicked Grims, Exploding Nightmare nests, and some Nightmare Parasite.
Once you reach the bottom of the mountain, it’s time to head to Sindri’s house. You’ll soon meet up with Freya and several Einherjar. After that, there’s an optional Yggdrasil rift challenge nearby which contains a Nornir chest. From there, you need to board a train back down to Nidavellir. Look out for a Berserker Gravestone which is the equivalent of the Valkyrie challenges in 2018’s God of War.

Speak to Sindri after getting to his place using a Mystic Gateway. Kratos will soon fall asleep and will dream of his dead wife, Faye.
Chapter 11: Unleashing Hel
Tracking Down the Final Mask Fragment
You’re back into Atreus’ shoes so find Odin in his study. Together with Thrud, you’ll track Odin down to the library. He’ll soon give Thrud and Atreus another mission, tracking down the final mask fragment with Heimdall’s help. Just equip the mask in your care to find the Docks of Vadgelmir. Explore the docks to find a locked steel gate.

After that, you’ll be ambushed by several groups of Hel-walkers in your bid to find a way past the locked gate. Just continue along the docks and beat the challenges with help from the mask and Thrud. Keep going until you find a legendary chest that contains the Wrath of the Wolf, which is the iconic attack from 2018’s version that seeks three wolves on any opponent you want.
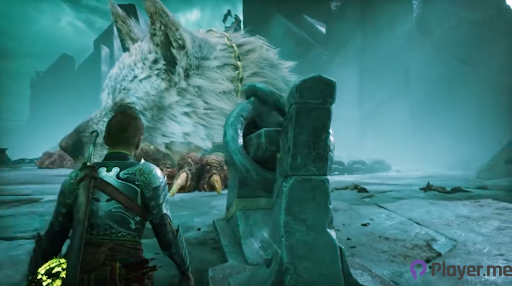
You’ll soon discover a large Hel-hound which you’ll soon unchain. After that, find a way back to Asgard and report to Odin. From there, Atreus will make a quick stop at his quarters in Asgard and then leave for Sindri’s house. But Atreus will soon be ambushed by some Hel-walkers, after which, he’s saved by Kratos at the last minute.
Chapter 12: Reunion
Find Garm in Helheim
Talk to Ratatoskr who reveals that the Hel-hound that Atreus freed is now wrecking Helheim. The name of the wolf is Garm who you’ll immediately encounter as soon as you arrive in Helheim via a Mystic Gateway. Head deeper into Helheim and clear any Hel-walker you find on your way using the Blades of Chaos because they’re quite good for crowd control.
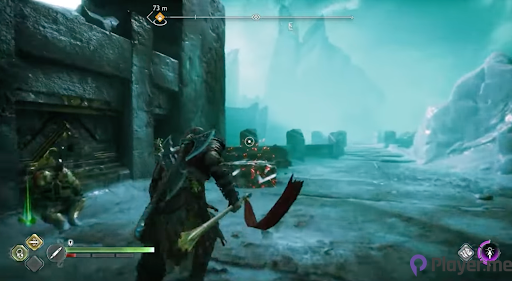
Look out for a legendary chest while following Atreus until you come across Garm. Soon after the introduction, you’ll fight a level 5 Hel-viken and then, you’re in hot pursuit of Garm. You’ll come across some Hel-raiders, a Hel-traveler, and a closed gate which only unlocks after you solve a puzzle.
Subdue Garm
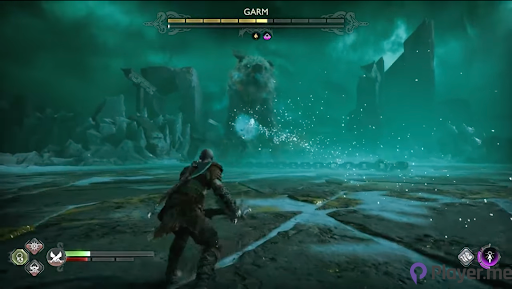
Atreus will enter his wolf form and Kratos will try to subdue Garm using his chain. But Garm flees again so you have to track him down again. When you do find Garm again, you fight. Here are some tips for subduing Garm.
- Block his ice shockwaves instead of dodging them.
- Use Spartan Rage whenever Garm is downed.
- Last until the next checkpoint, which is unlocked by depleting six of Garm’s health bars.
- Dodge his attempts to bite you.
- Dodge the ice balls he spits.
- Always freeze the chain as soon as it’s lodged into the ground.
Despite your attempts to kill Garm, he doesn’t stay down so you now attempt to escape Helheim. Follow Atreus’ lead, attack Garm’s weak points, and eventually, the hunter becomes the hunted. Kratos and Atreus will soon track down Garm, after which Atreus places Fenrir’s soul into Garm. Return home to Sindri after solving a gate puzzle.
Frequently Asked Questions
Can Kratos Increase the Number of Draupnir Spears He Can Spawn?
Draupnir can replicate infinitely but the developers decided to cap it at six spears. So, you can throw six detonating spears in quick succession.
How to Take Advantage of the Draupnir Spear?
You can only really take advantage of the Draupnir spear when the detonating spears blow the enemies into the air. So, that window is when you unleash a flurry of combos with the Blades of Chaos and the Leviathan Axe.
How to Cheese the Last Fight with Garm?
Equip the Draupnir spear and throw the spears at the metal locks around Garm’s legs and neck. Detonate them to quickly deplete Garm’s health. Rinse and repeat this step to cheese the fight.